Friday, December 24, 2010

Removal of Stock Wiring Harness

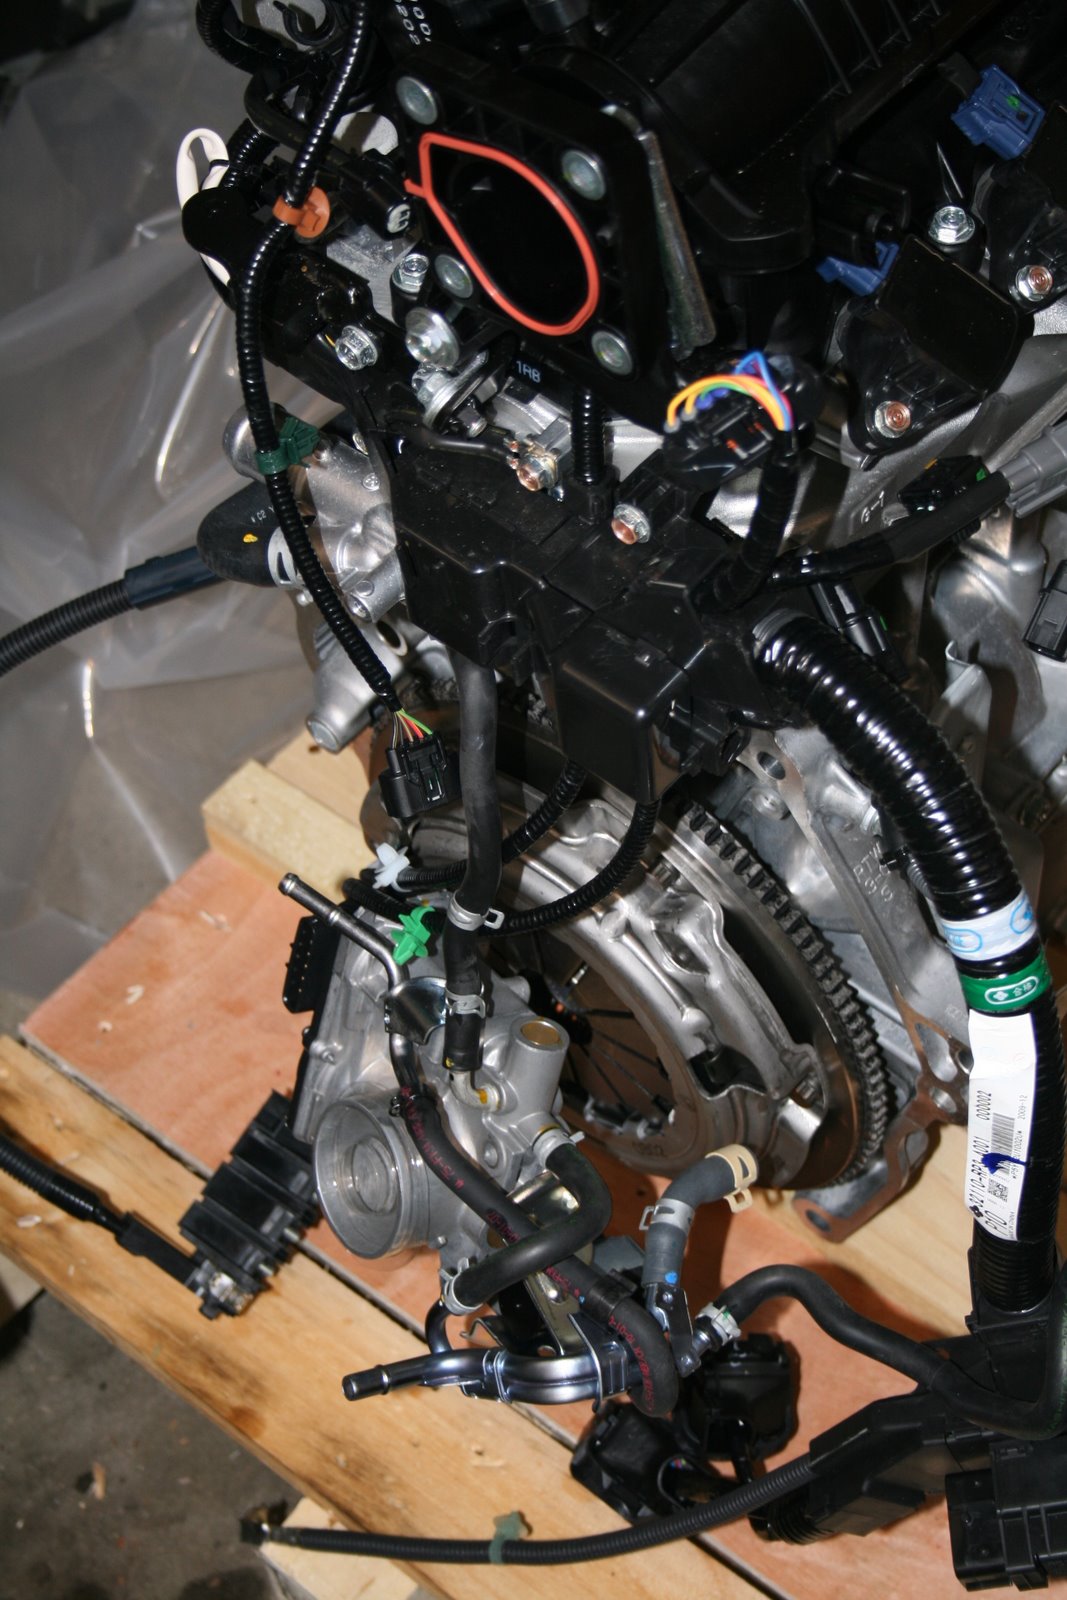
Throttle body must be removed to get to the Wiring Harness Mounts.  The hardest part of removing the throttle body (for me at least) was getting the hose that connects it to the water outlet to release.  WD40 and patience...


Before the Wiring Harness can be completely removed, the Intake Plenum and runners need to come off.
Intake Plenum now removed.  Lots of Sensors to disconnect as well as the fuel injectors and coils
Runners and the rest of the harness off.  The engine is starting to look pretty bare now...Posted by Picasa

Exhaust Removal (Part 1)

Wednesday night 12/22/10 beginning the removal of the exhaust system...  Only to find that I do not own a wrench or socket that will work on the stock O2 sensor.  Without removing the sensor the heat shield will not come completely off and the exhaust flange bolts are VERY hard to get to...  Note to self:  stop by Toano Autoparts and get an O2 Sensor removal socket tomorrow.
EGR Tube removed.  The HPD manual refers you to the Honda Fit manual for reference on this part.  (I am unclear why as it is a simple part held on by two bolts at the converter end and two nuts on the studs at the engine block).
EGR Sensor removed.  I chose to leave the fastners and stock gasket in place for later installation of the blocking plate included in the HPD kit.Posted by Picasa

Thursday, December 23, 2010

Working late

     Last night I started in on the race kit conversion for the motor.  The process is fairly well documented in the HPD illustrated manuals, and went without any major trouble.  (I do need a couple of special tools though to pull the sensor from the exhaust and the front engine mounting stud out - but I just skipped over those steps for now).

     The engine is quickly shrinking on the pallate. and now looks more like a "long block" than a complete production car motor.

     I got a little carried away with the process and next thing I knew it was very late, but I had gotten to the "remove VTEC Pressure Sensor" step...

(Pictures will be posted later this afternoon)

Sean
Tuesday, December 21, 2010

Cracking the crate...

Small box in the bottom of the crate containing the water outlet housing and thermostat.
Without a lift handy (low ceilings in my "shop"), I chose to disassemble the crate and leave the engine on the pallet until I am ready to put it on the engine stand...
Fit engine in all of its production-line glory...  It was all I could do at this point to cover it back up and go to bed.   Later this week it will go up on the stand and the race kit conversion will begin...I have read and re-read the manual from HPD and am very eager to get the process underway...more later this week (Christmas commitments willing).Posted by Picasa

Unpacking (continued)

Boxes inspected and repacked...  Now on to the crate...
Honda Fit motor crate label...  Does that qualify as irony "American Honda...Made in Japan"


The top comes off of the crate to reveal that the motor is packed just as anally as the Race Kit parts...Posted by Picasa

Unpacking...

Each of the boxes was incredibly neatly packed with vacuum packed padding.  Note the Staffs/DB6 input shaft above...
Intake plenum, oil pump, filter, and other conversion pieces...
Each smaller box was also packed with the same attention to detail.


Second box contained the oil pan and bell adapter.Posted by Picasa

The Honda Kit Arrives

A new adventure is underway here in the Maisey garage.  The new Honda Performance Development (HPD) kit arrived this afternoon...
The kit was VERY neatly packed up in a large single box with the assembly-line Honda Fit motor in the also very nicely constructed crate.

Inside the "Kit box" were two smaller boxes containing the Racing Kit parts as well as the Swift DB6 spec Staffs Input shaft and Bellhousing adapter.  I am told that the DB6 parts will be appropriate for the my Citation SF95 chassis as well.Posted by Picasa